
Disclaimer: We don’t sell IPTV services. We don’t sell apps. We don’t take commissions.
What we actually do? We test, research, compare, and simplify. We dive into forums, scroll through tech blogs, install all kinds of apps (even the weird ones), and package everything into useful shortcuts you can trust.
We’re just a bunch of nerds obsessed with tech, doing our best to save you time and headaches. Everything we write comes from real testing and experience — no fluff, no hype, no bias.
Use it, test it, question it. We’re not here to sell — we’re here to help.
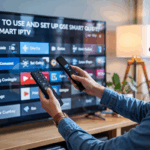
✅ What You’ll Need
Let’s start with the basics:
-
Kodi installed (latest version, ideally v20 or newer)
-
An M3U playlist link (from your IP TV subscription)
-
Optional: an EPG XML URL for the TV guide
-
A stable internet connection
👉 If you need a provider that works well with Kodi, check out trusted options like Smarters Pro, IP TV Smarters Pro, or IBOMAX Pro — all known for clean M3U support and EPG compatibility.
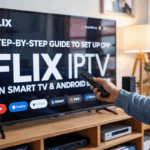
🛠 Step 1 – Install Kodi (If You Haven’t Yet)
Head over to kodi.tv/download, pick your platform (Windows, Android, Firestick, etc.), and install it.
Once it’s installed, launch Kodi and move to the next step.
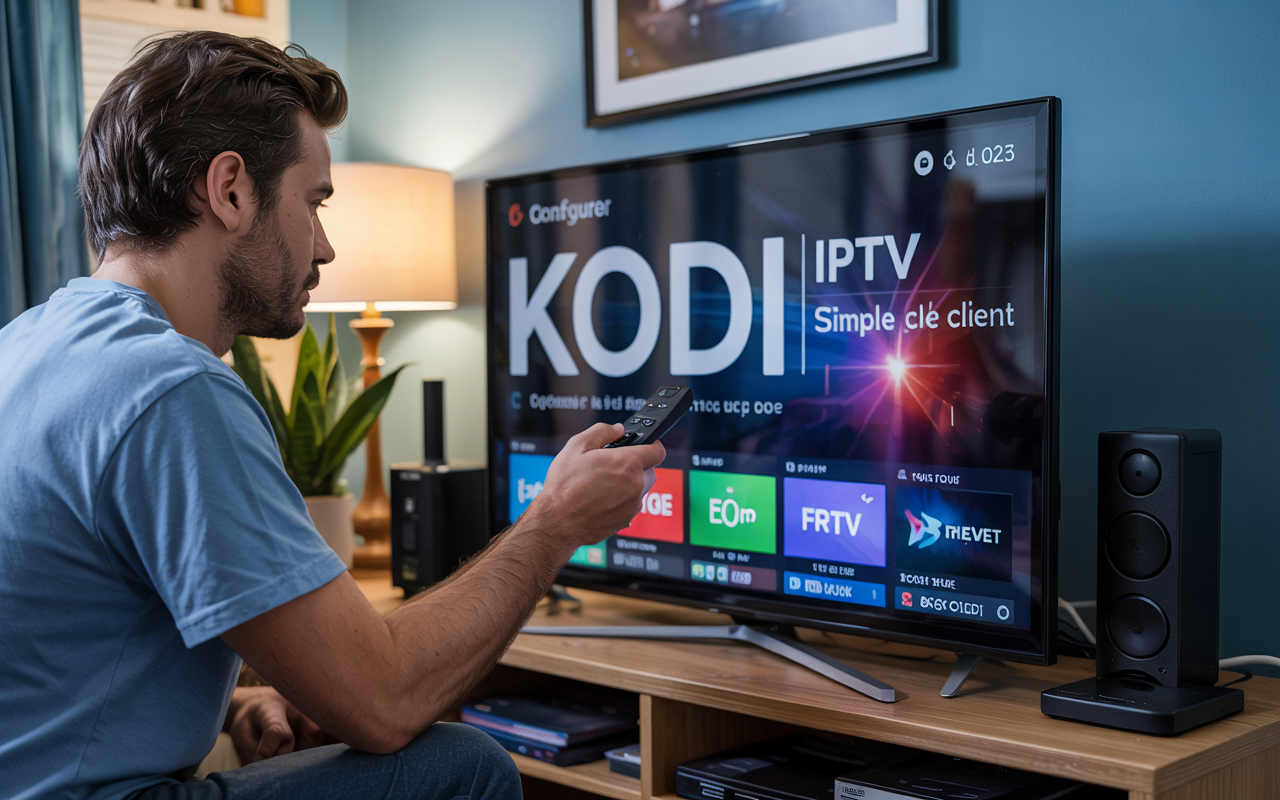
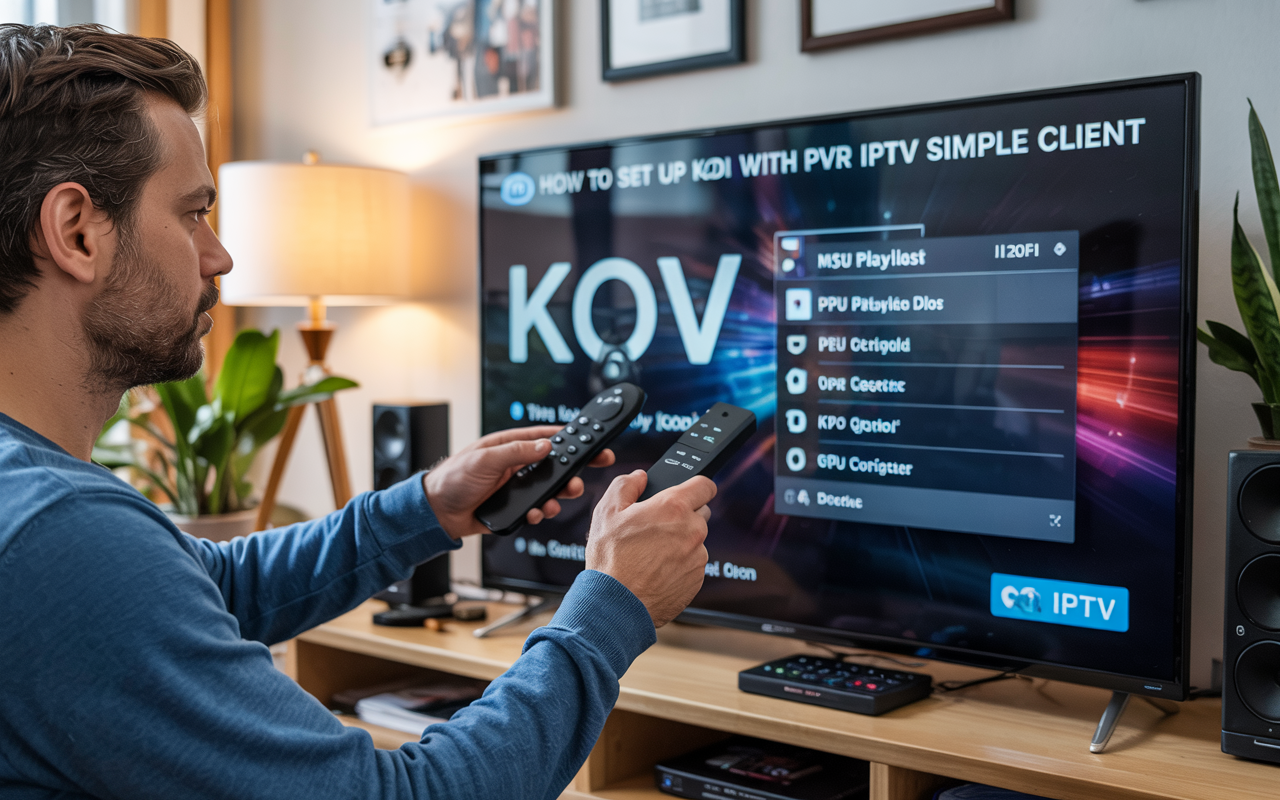
🔌 Step 2 – Enable the PVR IPTV Simple Client
This is the built-in add-on that lets you load your IP TV playlist.
-
Open Kodi
-
Go to Add-ons > My Add-ons > PVR Clients
-
Select PVR IPTV Simple Client
-
Click Enable
-
Then click Configure
📥 Step 3 – Add Your M3U Playlist
Inside the config menu:
-
Go to the General tab
-
Change location to Remote Path (Internet address)
-
Paste your M3U playlist link in the URL field
-
Save and exit the settings
-
Restart Kodi (just to be sure)
That’s it — Kodi will now start loading all the channels from your list.
📅 Step 4 – (Optional) Add the EPG Guide
Want your channels to show with full program info?
-
Go to Configure > EPG Settings
-
Enable XMLTV and paste your EPG URL (your provider gives you this)
-
Save settings and restart Kodi
✅ You should now see channel names, logos, and the full TV schedule inside Kodi’s “TV” section.
🧠 Tips That’ll Make Your Life Easier
-
Kodi sometimes takes 10–20 seconds to load all channels on first launch — be patient
-
If some channels don’t play, test the same playlist on another device (the link might be broken)
-
Set Kodi to auto-start in full-screen mode under Settings > System > Display
-
For faster playback, turn on cache settings or use an external player plugin
❗ Trouble? Here’s What to Check
| Problem | Likely Fix |
|---|---|
| No channels after setup | Check if your M3U link is active and correctly pasted |
| Kodi freezes on boot | Disable unnecessary add-ons and clear cache |
| EPG doesn’t show anything | XMLTV link might be wrong or outdated |
| Some channels don’t load | It’s the provider — time to switch |
👉 If you’re tired of unreliable sources, try IPTV Smarters Pro or IPTV Smarters Alt — both are tested and work great with Kodi setups.
🔐 Should You Use a VPN with Kodi?
If your ISP blocks IPTV links or slows down your connection during live events (like football games), then yes — a VPN helps a lot.
Using a VPN with Kodi can:
-
Bypass ISP restrictions
-
Fix buffering issues
-
Keep your viewing activity private
✅ Good options: Surfshark, NordVPN, ProtonVPN — all work on Firestick and Android too.
💡 Don’t Forget This Resource
If you want more tutorials like this one, especially for IPTV setups on Firestick, Android TV, or Kodi builds, you should check out TopFirestick. It’s packed with helpful walkthroughs, comparisons, and real advice — not just generic blog content.
✅ Final Recap
Here’s what you actually do:
-
Open Kodi
-
Enable PVR IPTV Simple Client
-
Paste your M3U link
-
Add your EPG (if you have one)
-
Restart Kodi — and you’re good to go
That’s it. No magic. Just a clean setup and working channels inside Kodi.